[HotHelp] How do I create a dieline or cut file for a custom shape order?
When designing a dieline for a custom-shaped project, you have the flexibility to create intricate cuts that add creativity and interest to your design.
Creating the Dieline:
- Separate Layer: Similar to Spot UV or white spot masks, create a separate layer in your design file for the dieline. Use Black, Magenta, or Cyan in this layer to indicate where the cutline, drill, or crease will be applied.
- Proper Alignment: Ensure that the cut layer matches the exact dimensions of your color artwork file and overlays perfectly to guarantee everything lines up during printing.
- Vector Format: The cut layer must be created in vector format and saved as an EPS or PDF file. Raster files such as JPG, TIFF, JPEG, or PNG are not allowed.
Instructions for Adobe Illustrator:
- Creating the Strokes: Use vector paths or shapes to define the specific areas where the cut line will be applied.
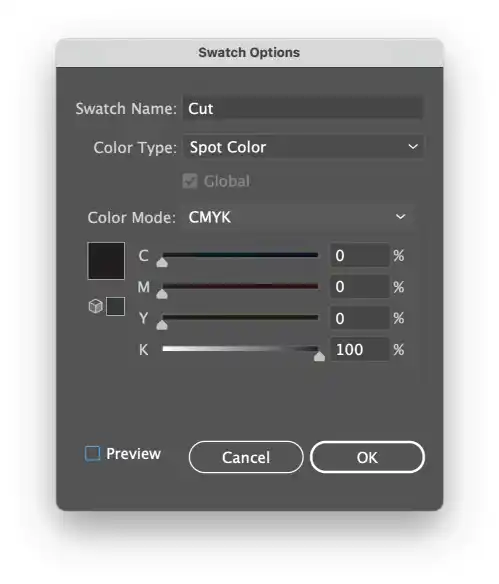
- Swatch Creation: For cut lines, create a new Swatch with the following settings:
- Swatch Name: Cut
- Color Type: Spot Color
- Color Mode: CMYK
- Color Values: C 0%, M 0%, Y 0%, K 100%

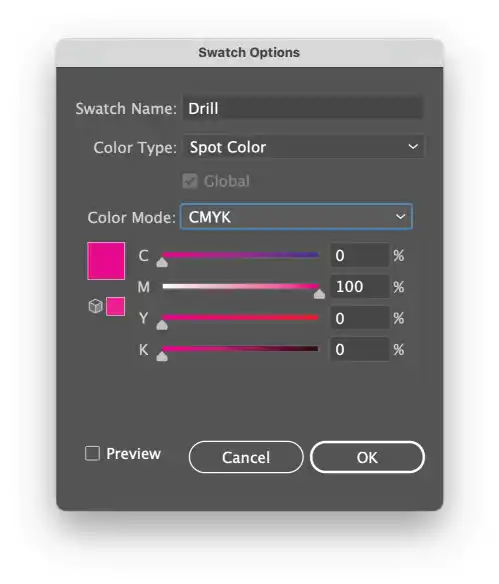
- For drill holes, create a Swatch with these settings:
- Swatch Name: Drill
- Color Type: Spot Color
- Color Mode: CMYK
- Color Values: C 0%, M 100%, Y 0%, K 0%

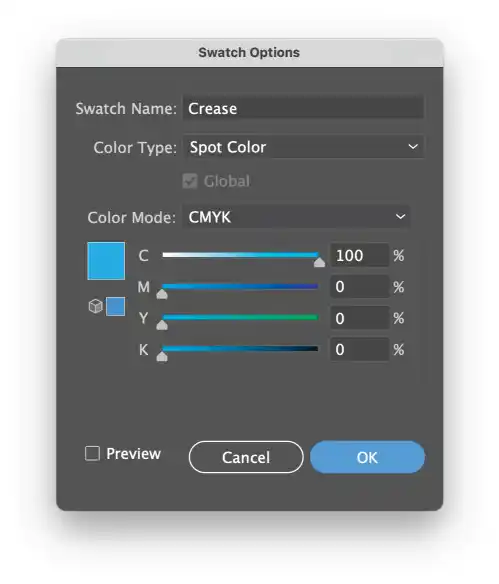
- For creases, create a Swatch using:
- Swatch Name: Crease
- Color Type: Spot Color
- Color Mode: CMYK
- Color Values: C 100%, M 0%, Y 0%, K 0%

3. Overprint Strokes: Select the color outlines you created, go to Window > Attributes, and choose the "Overprint Strokes" option. This ensures that the shapes appear correctly in the final file as a separate layer.
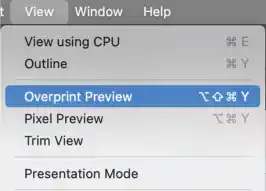
4. Verify Overprint: To confirm everything is set up correctly, enable "Overprint Preview" under the View menu. You should see a CMYK image with darker tones in the areas of the strokes.

Summary:
- The design will be cut exactly where the cut line is placed.
- There is a limit on the total length of custom cutting allowed per job, based on the combined length of all sides of the sign. If your cut file exceeds this limit, it will be rejected, and you will need to request a custom quote. For example, for a 12x18 sign, the maximum allowable linear cutting length is 60 inches (12+12+18+18=60). If your design exceeds 60 linear inches, a custom quote will be required.
- Multiple finishing types (cut, drill, crease) can be included in a single file.
- Ensure that the stroke is set to overprint and that the color swatch is a Spot Color. Failing to do so may result in the cut line being printed or cause issues with CMYK printing, such as white lines.


